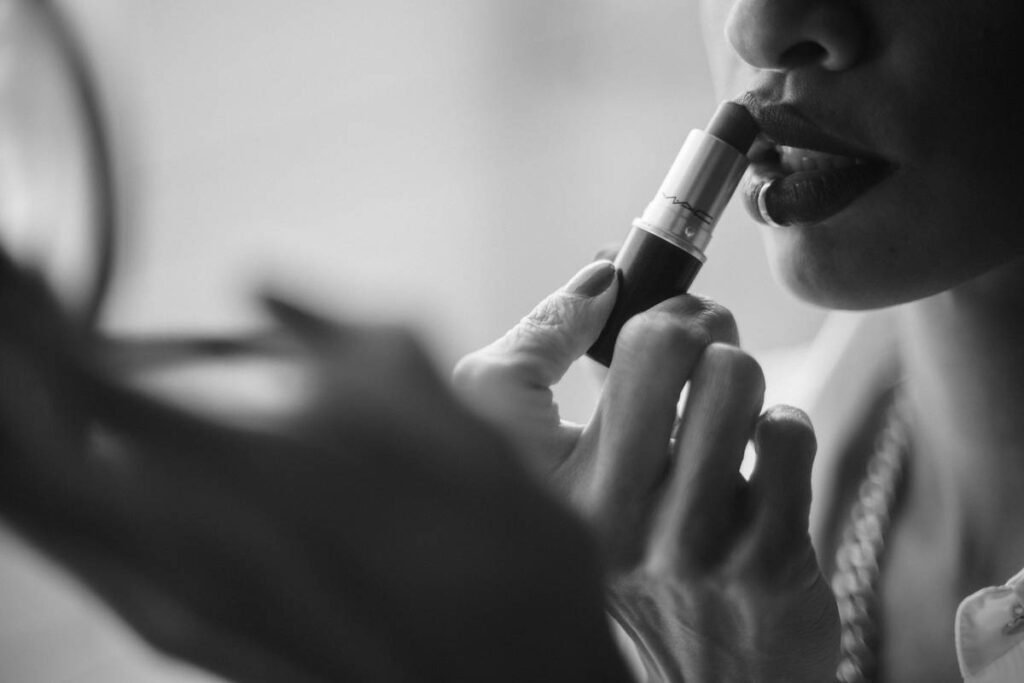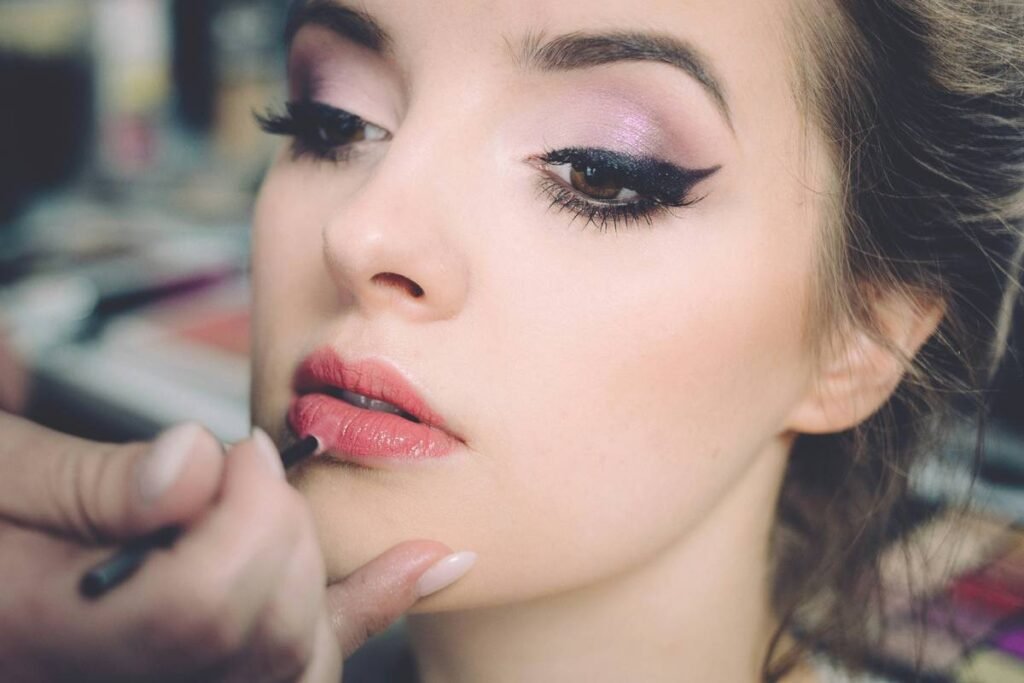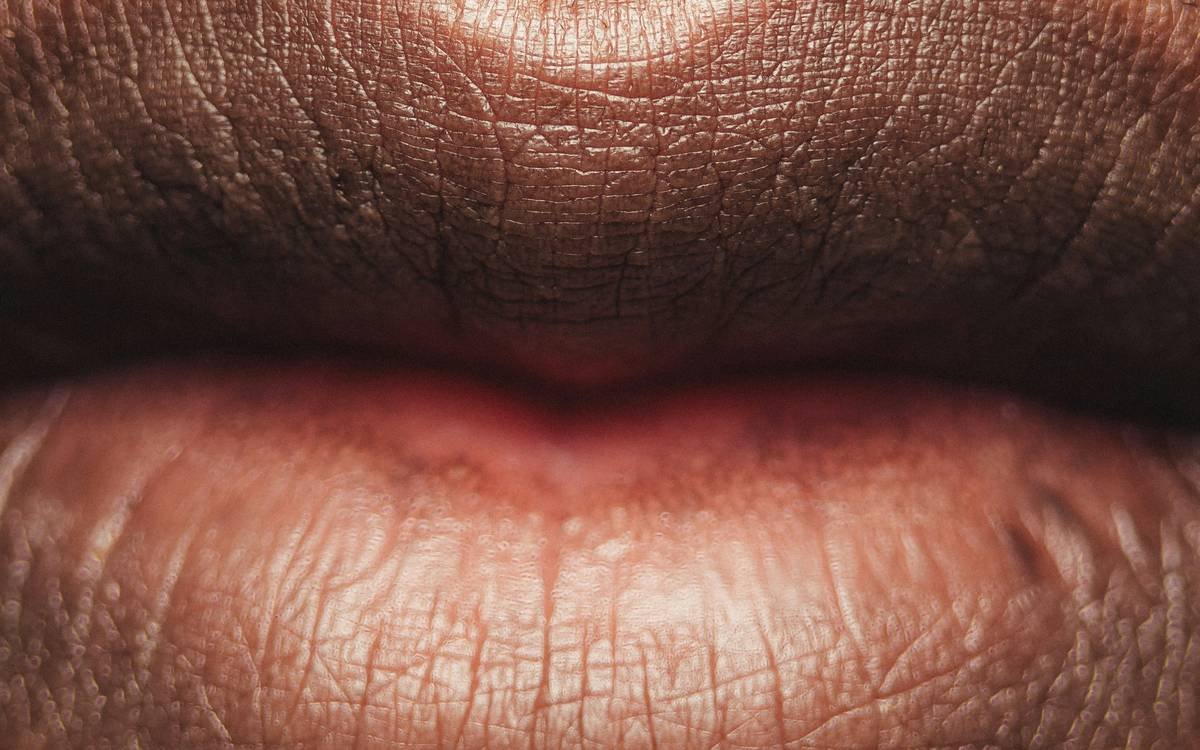
You spent 20 minutes layering that perfect nude. Blotted. Set. Admired your handiwork—until you smiled. Feathered edges. Blurred definition. The horror. Blame it on skipping the one tool that separates amateurs from editorial-level finish: the lip edge marker.
Why Standard Lip Liners Fail at Precision
Traditional lip pencils are blunt instruments pretending to be scalpels. Their waxy cores drag, skip, or deposit too much pigment along the vermilion border—the delicate line where lip meets skin.
And humidity? Sweat? A single sip of coffee? Disaster. Without anchoring that outermost edge with a true precision tool, your entire look unravels. Fast.
Most brands market “long-wear” formulas but ignore the real failure point: micro-migration beyond the lip line. It’s not about staying power—it’s about boundary control.
Mastering the Lip Edge Marker: Your Step-by-Step Blueprint
Forget tracing your entire lip. Pros don’t fill—they frame.
Selecting the Right Formula & Shade
Your lip edge marker must be matte, transfer-resistant, and shade-matched to your natural lip line—not your lipstick. Too dark? Harsh. Too light? Invisible. Test in daylight.
The 3-Stroke Technique
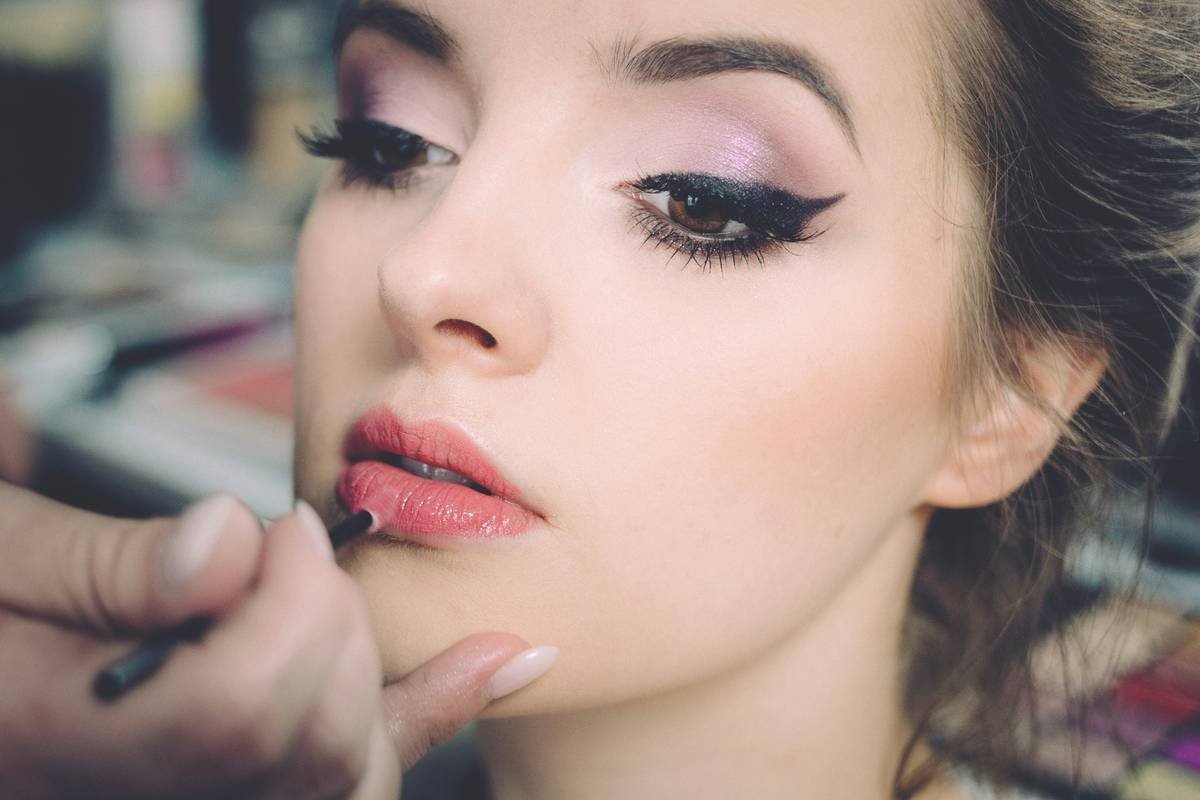
Start at the cupid’s bow peak. One fluid stroke to the corner. Repeat on the other side. Third stroke? Just below the center of the lower lip—where feathering begins. That’s it. No overlining. No shaky retracing.
Setting for All-Day Integrity
Dust translucent powder ONLY over the marked edge—not the entire lip. This locks pigment without dulling your glossy finish. And never apply balm over it. Oil dissolves boundaries.
| Method | Precision Level | Longevity (Hours) | Beginner-Friendly? |
|---|---|---|---|
| Traditional Lip Liner (Full Outline) | Medium | 4–6 | Yes |
| Finger Blending | Low | 2–3 | Very |
| Lip Edge Marker (3-Stroke Method) | High | 8–12 | Moderate |

The Industry Secret: Double-Dip Defense
Here’s what no brand admits: even the best lip edge marker fails if you don’t prep the zone. The secret? Exfoliate—but only the lip surface. Never scrub the surrounding skin. That area is thinner than tissue paper; irritation triggers oil production, which pushes pigment outward.
Instead, use a cotton swab dipped in toner to wipe the perimeter clean pre-application. Removes residual oils without friction. Then—and this is critical—apply a *tiny* dot of water-based primer (not silicone!) just outside the lip line. Let it dry sticky. Now your marker grips like glue. This double-dip defense—clean zone + micro-primer—is backstage gold.
Frequently Asked Questions
Can I use a regular eyeliner as a lip edge marker?
No. Eye formulas aren’t FDA-approved for lip mucosa and often contain pigments unsafe near the mouth.
Do lip edge markers work on dark skin tones?
Absolutely. Look for brands offering deep, neutral undertones—avoid anything ashy or overly cool.
How sharp should my lip edge marker be?
Sharpened to a needle point? Overkill. A fine chisel tip gives more control and lasts longer between sharpenings.