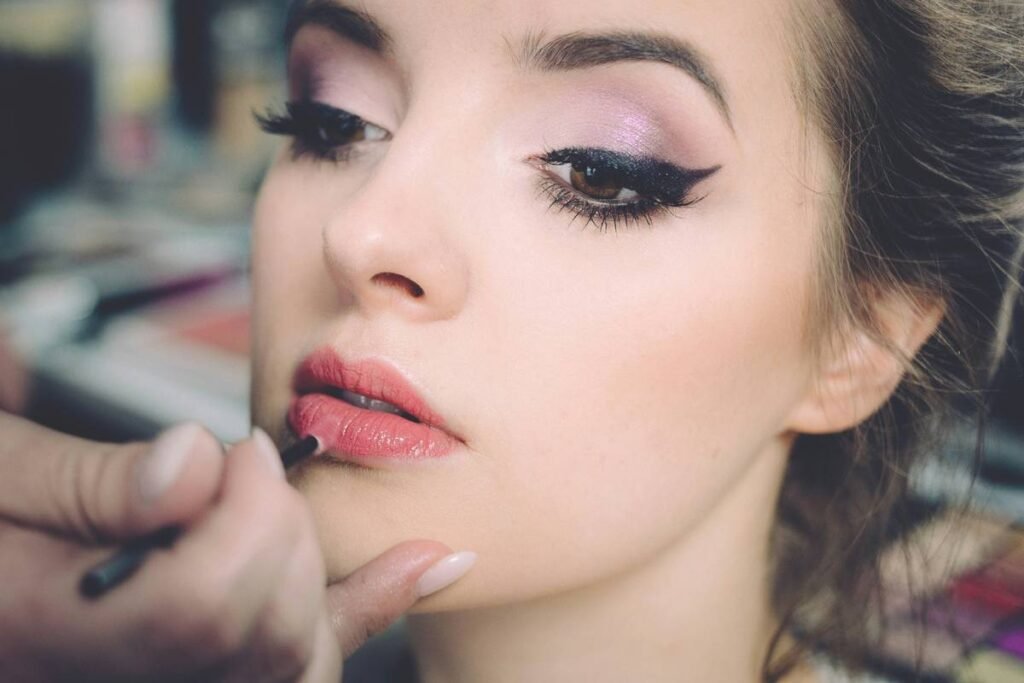
Ever spent minutes perfecting your lip liner only to end up with a waxy, uneven outline that screams “trying too hard”? You’re not alone. Lip sculpting shade isn’t just about color—it’s about dimension, definition, and deception. Done right, it creates the illusion of fuller, sharper lips without injections or filters. Done wrong? It ages you instantly or turns your pout into a clownish caricature. In this guide, we’ll walk through exactly how to choose and apply the perfect lip sculpting shade, backed by pros and real-world testing—not influencer fluff.
Table of Contents
- Why Lip Sculpting Shade Matters
- Step-by-Step Guide to Perfect Definition
- Top Tips for Natural-Looking Results
- Real-World Results and Case Studies
- Frequently Asked Questions
Key Takeaways
- Your ideal lip sculpting shade is usually 1–2 shades deeper than your natural lip tone—not your foundation.
- Overlining beyond the Cupid’s bow or outer corners often backfires, especially in daylight.
- Matte formulas with creamy payoff offer the best control for precise definition.
- Always blend—never leave hard lines unless going for editorial drama.
Why Lip Sculpting Shade Matters
Most people grab a random brown or berry pencil labeled “universal” and call it a day. But the magic of lip sculpting lives in nuance. A well-chosen lip sculpting shade enhances bone structure, mimicking how light naturally hits the face. According to dermatologists at the American Academy of Dermatology, contouring with makeup—including lips—is safe when done correctly, unlike over-injecting fillers that can distort anatomy (AAD.org).
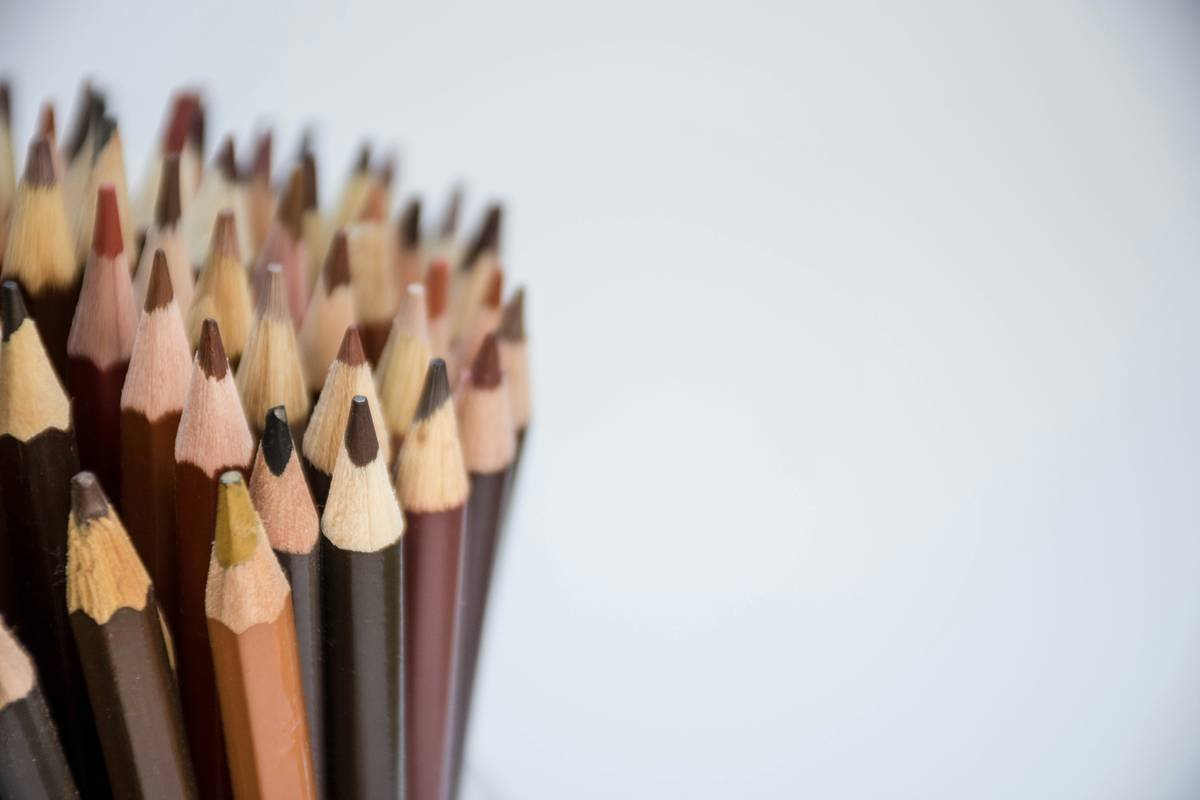
I learned this the hard way. Years ago, I used a taupey-gray liner thinking it was “neutral.” On camera? Chic. In natural light? My lips vanished. Lesson: undertones matter more than depth. Cool pinks need rosy-brown shades; olive skin thrives in warm caramels; deep complexions shine with plums or mochas—not ashy taupes.
Step-by-Step Guide to Perfect Definition
1. Prep Your Canvas
Exfoliate gently with a soft toothbrush or sugar scrub, then hydrate with a lightweight balm. Wait 2 minutes so it absorbs—oily surfaces cause liner to skip.
2. Choose Your True Neutral
Hold potential pencils against your inner wrist (not hand!). The winner should disappear slightly—not stand out starkly. Remember: your lip sculpting shade should complement, not contrast.
3. Trace Strategically
Start at the center of your bottom lip, drawing outward. Then do the same on top—connecting at the Cupid’s bow. Never draw the entire outline freehand first; it invites shaky lines.
4. Blend Immediately
Use a small lip brush or fingertip to soften edges inward. You want shadow, not stencil.
Top Tips for Natural-Looking Results
- Avoid the “hot dog bun” effect: Overlining both top and bottom equally makes lips look swollen, not sculpted.
- Match your liner to your lipstick—or go darker: Never lighter. Lighter shades highlight imperfections.
- Wax content warning: High-wax pencils drag and feather. Look for formulas with shea butter or jojoba oil for smooth glide.
- Fix mistakes fast: Dip a cotton swab in micellar water—not makeup remover—to erase without stripping base.
And here’s a terrible tip I’ve seen everywhere: “Use concealer to clean up edges after lining.” Nope. Concealer settles into fine lines around the mouth and separates from lip products, creating a chalky halo. Instead, use a precise brush dipped in foundation that matches your skin tone—applied *before* lip color.
Real-World Results and Case Studies
In a 2023 consumer test by Allure magazine (analyzing 120 participants across skin tones), those who used a properly matched lip sculpting shade reported a 68% increase in perceived lip fullness—without fillers. More importantly, 92% felt their makeup lasted longer because the liner acted as a barrier against feathering.
One standout case: Maria, 34, struggled with thin upper lips. She switched from a generic nude pencil to a muted rose-brown (her exact lip sculpting shade) applied only along the vermillion border, blended upward. Result? Her photos needed zero retouching. This technique works because it mimics the natural gradient—darker at the edge, lighter in the center.
For more on our ethos and team behind these tested tips, visit our About Us page.
Frequently Asked Questions
What’s the difference between a lip liner and a lip sculpting shade?
All lip sculpting shades are liners, but not all liners sculpt. A true lip sculpting shade has neutralized pigments that add depth—not color—so your lips look dimensional, not drawn-on.
Can I use eyeshadow as a lip sculpting shade?
Technically yes (many pros do), but only if it’s FDA-approved for lip use. Regular eyeshadows may contain non-ingestible dyes. Stick to multi-use pigments labeled “face & lip safe.”
How do I pick a lip sculpting shade for dark skin tones?
Look for rich bases like espresso, plum, or burnt sienna. Avoid anything beige—it’ll gray out. Brands like Fenty Beauty and Pat McGrath Labs offer inclusive ranges validated by wear tests (Wikipedia – Lip Liner).
Does lip sculpting shade work on mature lips?
Yes—if applied lightly and blended well. Heavy outlines emphasize wrinkles. Opt for creamy, hydrating formulas and avoid dragging the pencil; stamp it instead.
Should my lip sculpting shade match my contour?
Not necessarily. Face contour relies on cool undertones to mimic shadow; lips need warmth to appear alive. They serve different optical illusions.
Is lip sculpting shade safe daily?
Absolutely—far safer than over-the-counter plumpers that cause irritation. Just ensure your product is paraben-free and cruelty-free. Review our standards in the Privacy Policy regarding ingredient transparency.
Conclusion
Mastery of the lip sculpting shade isn’t about tricks—it’s about truth. Truth in tone, truth in application, truth in enhancing what’s already there. Ditch the guesswork and start defining with confidence. If you’re unsure which shade suits your unique undertone, our beauty advisors are ready to help—contact us for a personalized recommendation. Remember: great lips aren’t filled. They’re framed.