You spent $32 on a “precision” lip pencil. You traced your Cupid’s bow like it was sacred geometry. And yet—by 2 p.m., your lips looked like they’d been sketched by a shaky intern. The problem isn’t your hand. It’s the myth that any old liner equals definition. Real lip sculpting color doesn’t just outline—it carves dimension, locks pigment, and survives espresso sips without bleeding into fine lines.
Why Your Lip Liner Isn’t Actually Sculpting
Most lip pencils are glorified crayons with marketing jargon. They’re too waxy—they skip. Too dry—they drag. Too soft—they melt into a blurry halo by lunch. Worse, they’re marketed as “universal,” which means they match no one’s undertone perfectly. You’re not getting contour. You’re getting compromise.
And here’s what brands won’t admit: true lip sculpting color must interact with your natural lip tissue—not sit on top of it like sticker residue. If it doesn’t blend *into* your lip line while staying sharp *outside* it, you’re just drawing a fence around a fading garden.
How to Apply Lip Sculpting Color Like a Pro Artist
Step 1: Prep Like You Mean It
Exfoliate gently—no sugar scrubs. A damp washcloth and 10 seconds is enough. Then blot. Oily or flaky lips sabotage even the most pigmented formula.
Step 2: Choose Your Weapon Wisely
Not all pencils earn the title “lip sculpting color.” Look for a semi-matte, creamy-but-firm core with built-in emollients (think shea butter + silica). Avoid anything labeled “long-wear matte” unless you enjoy cracking paint.
Step 3: Map, Don’t Trace
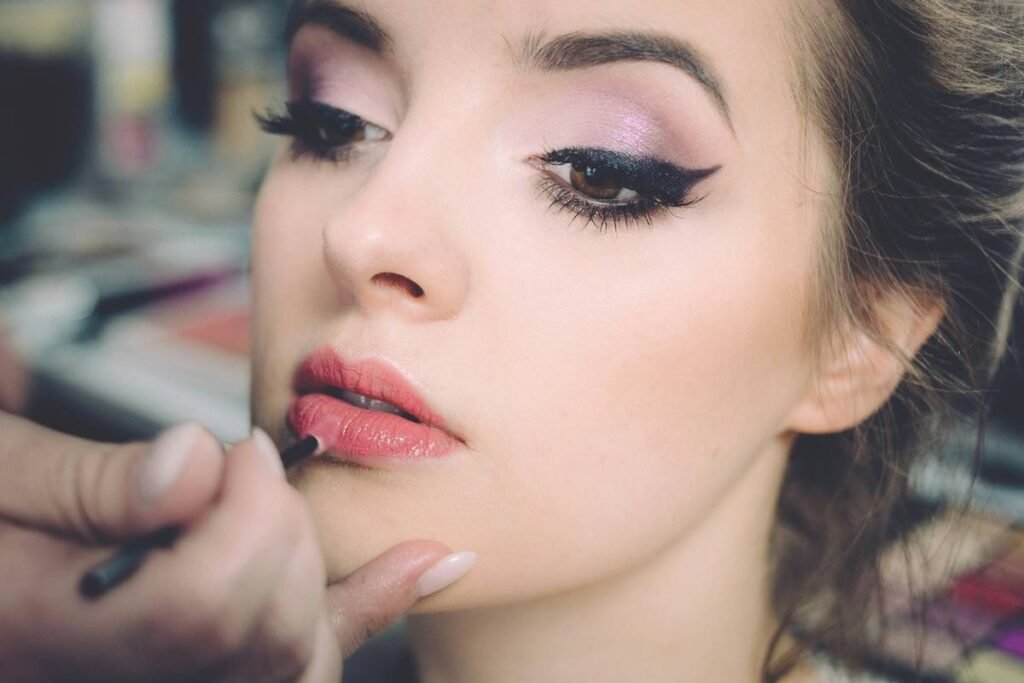
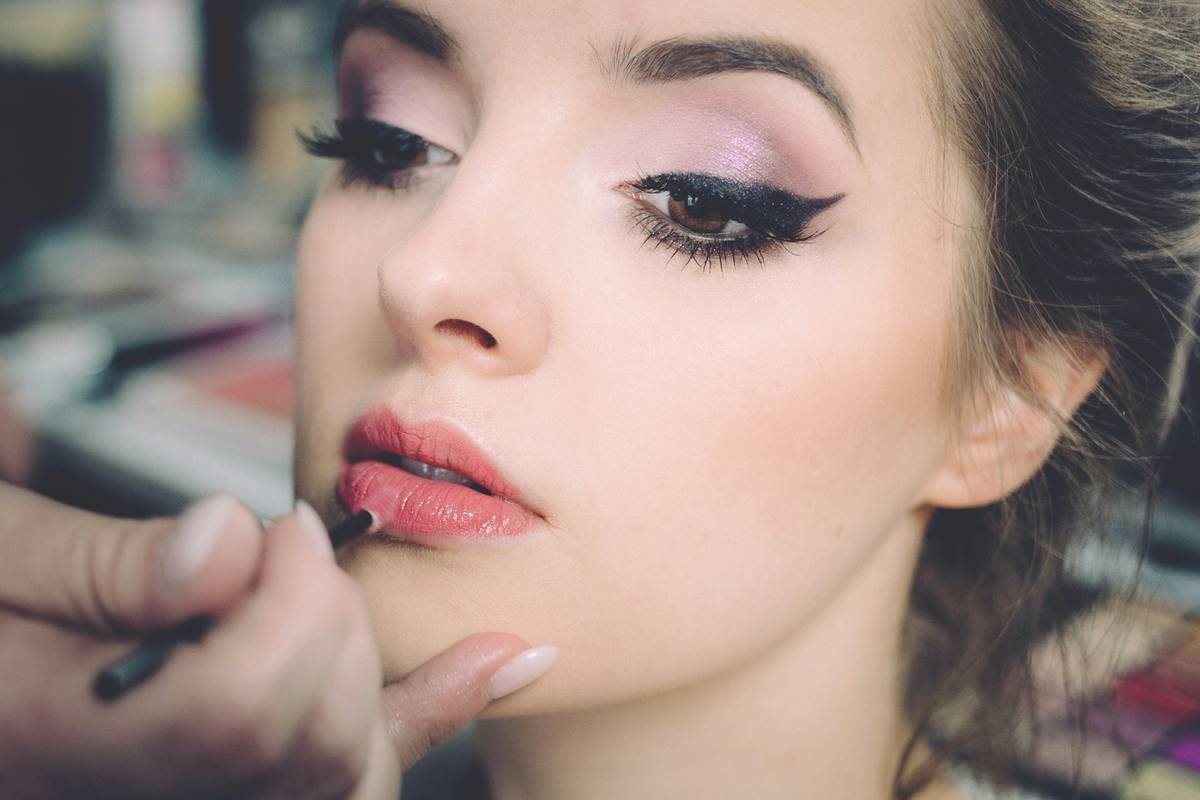
Start at the center of your upper lip. Follow your natural vermillion border—but extend slightly upward at the peaks of your Cupid’s bow. On the lower lip, anchor at the center and curve outward, staying just outside your natural line to create subtle lift. Never connect the two sides with a hard line at the corners—that’s where feathering begins.
| Technique | Tool Type | Longevity | Blending Ease |
|---|---|---|---|
| Classic Outline | Hard wax pencil | 2–3 hours | Poor (streaky) |
| Ombre Fill | Soft cream pencil | 4–5 hours | Excellent |
| Lip Sculpting Color | Balanced hybrid formula | 6+ hours | Seamless with finger or brush |
Step 4: Lock It In
After applying your sculpting color, lightly dust translucent powder over a tissue pressed to your lips. Then fill with matching lipstick or gloss. This sandwich method? It’s why celebrity MUAs never see smudges—even under HD lights.
The Industry Secret: The “Reverse Overdraw” Trick
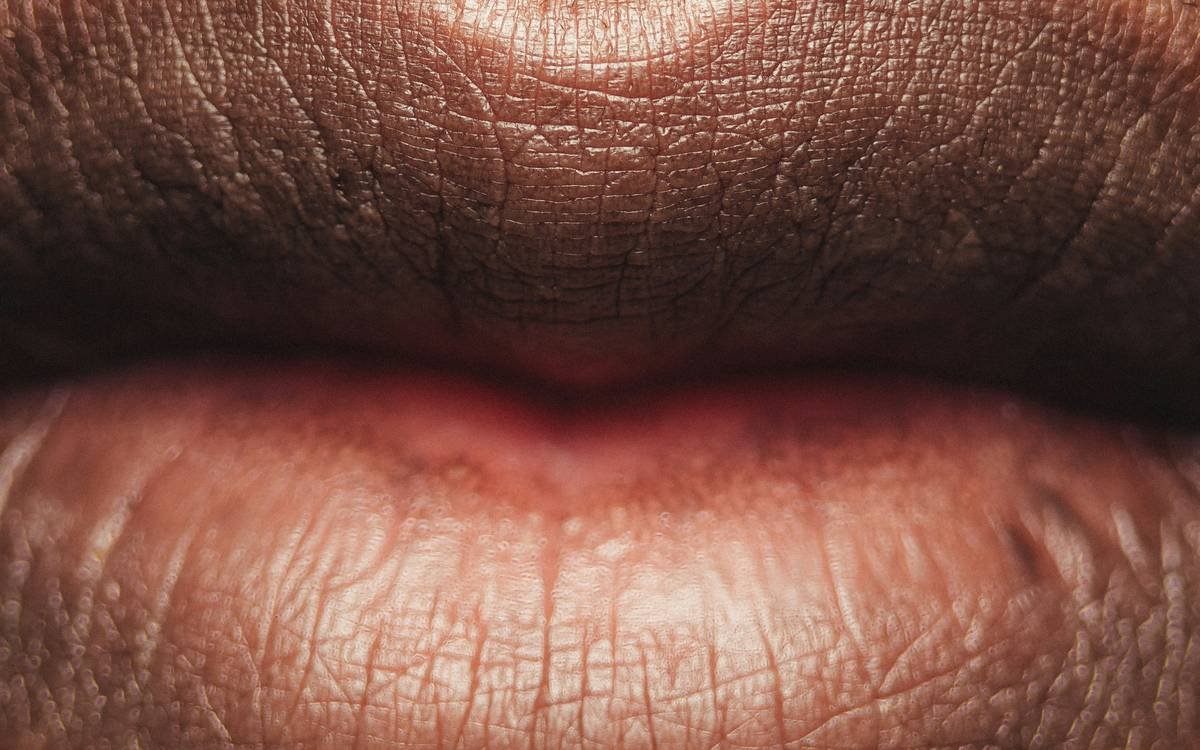
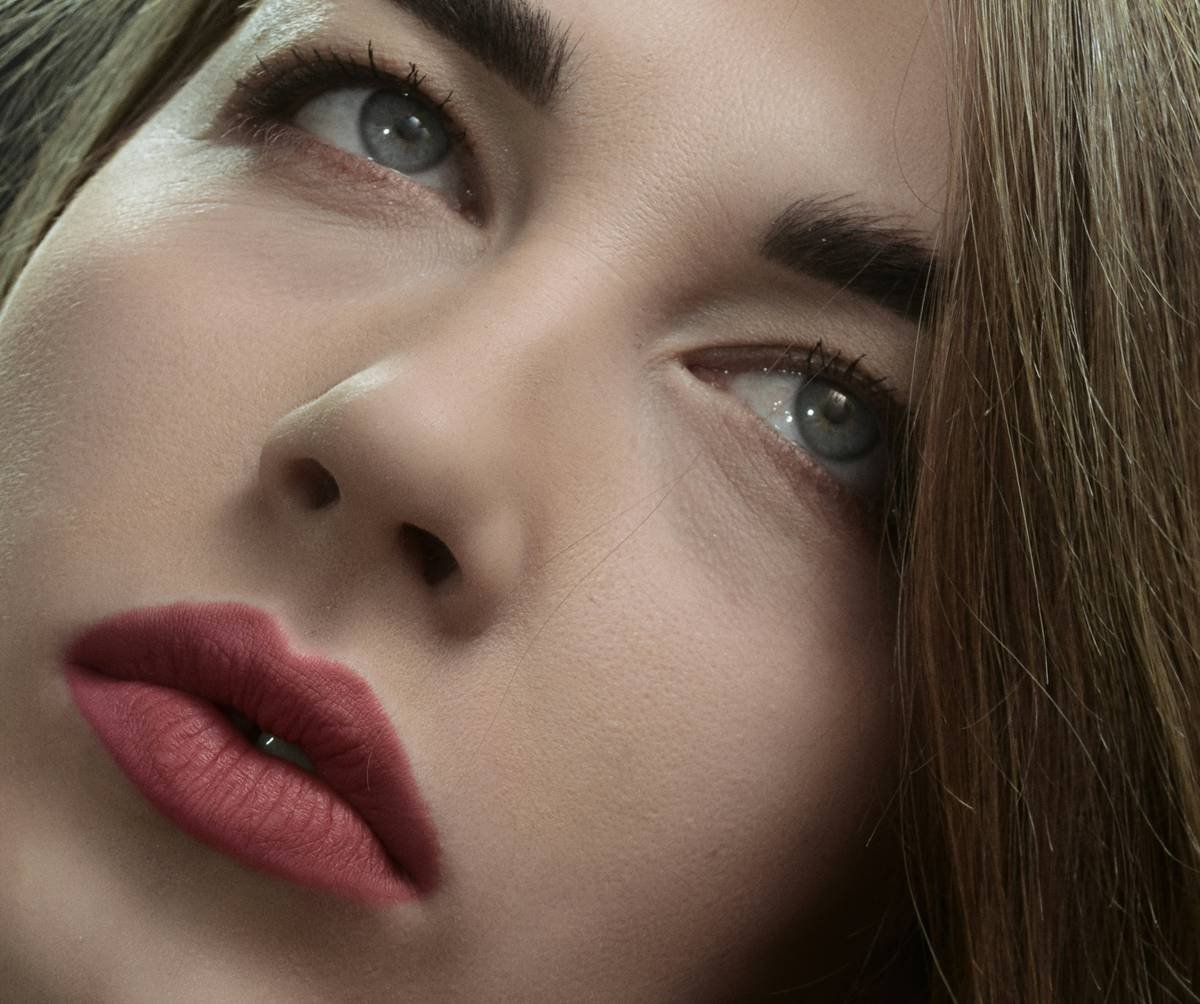
Here’s what elite makeup artists do backstage at fashion week—and what no tutorial will tell you: sometimes, you should draw *inside* your natural lip line first. Sounds backward? Not if you’re dealing with uneven borders or thinning volume. By subtly filling the inner third of your lips with a shade slightly deeper than your natural tone, then sculpting the outer edge with your lip sculpting color, you create optical depth. The brain perceives contrast as contour. It’s less makeup, more neuroscience. And yes—it works even on mature lips with vertical lines, because you’re working *with* texture, not against it.
Frequently Asked Questions
What’s the difference between lip liner and lip sculpting color?
Lip liner outlines; lip sculpting color defines, enhances shape, and adds dimension. It’s formulated to blend seamlessly while holding sharp edges—unlike standard liners that either smear or feel chalky.
Can lip sculpting color make thin lips look fuller?
Yes—if applied correctly. Extend just 1mm beyond your natural line at the center of both lips, then blend inward. Avoid overdoing the corners; that causes clownish distortion, not volume.
How do I stop my lip sculpting color from feathering?
Prep clean, dry lips. Use a lightweight balm 10 minutes before, then blot thoroughly. Set with powder before applying. Feathering usually comes from oil—not poor product quality.