Ever spent 20 minutes perfectly filling in your lips… only to watch your lipstick bleed into fine lines by lunchtime? Or worse—ended up with a lopsided Cupid’s bow that looks like Picasso tried contouring? Yeah. We’ve all been there.
If you think a lip outline pencil is just “that waxy stick for sketching lips before color,” you’re missing out on one of makeup’s most underrated multitaskers. In this post, you’ll learn exactly how to choose, prep, and wield a lip outline pencil like a pro—plus insider tricks from backstage at Fashion Week, dermatologist-backed tips to avoid irritation, and why some formulas actually *extend* wear time (spoiler: it’s not just about lining).
You’ll walk away knowing:
- How to pick a lip outline pencil that matches your undertone and texture needs
- The 3-step method for seamless blending (no harsh lines, ever)
- Why your current technique might be aging you—and how to fix it
Table of Contents
- Why Your Lip Outline Pencil Actually Matters
- How to Use a Lip Outline Pencil Like a Makeup Artist
- 5 Best Practices for Long-Lasting, Flattering Results
- Real-World Case Study: From Bleeding Disaster to 12-Hour Wear
- Lip Outline Pencil FAQs (Answered Honestly)
Key Takeaways
- A well-chosen lip outline pencil enhances shape, prevents feathering, and boosts longevity—without looking “drawn on.”
- Match your pencil to your natural lip line or go ½ shade deeper—not brighter—for a lifted, youthful effect.
- Always exfoliate and hydrate lips first; dry flakes + waxy pencil = patchy disaster.
- Dermatologists confirm: fragrance-free, hypoallergenic pencils reduce irritation risk (especially for sensitive skin).
- Never sharpen aggressively—over-sharpening breaks the core and wastes product.
Why Does a Lip Outline Pencil Even Matter?
Let’s cut through the gloss: over 73% of makeup wearers report lipstick feathering as their #1 frustration (Cosmetics Business Journal, 2023). And yet, fewer than 40% consistently use a lip outline pencil—often because they’ve been burned by chalky formulas or “liner-only” disasters that look costume-y.
But here’s the truth: a high-quality lip outline pencil isn’t about creating a hard perimeter. It’s about strategic placement, color correction, and barrier creation. Think of it as invisible scaffolding for your pout.
I learned this the hard way during my stint as a freelance MUAs at NYFW. One show called for “barely-there nude lips with zero transfer”—on models who’d be under hot lights for hours, sipping water, and smiling nonstop. My go-to? A creamy, vitamin E-infused lip outline pencil applied just along the outer ⅓ of the lip border. No full outlining. No stark contrast. Just subtle containment. Result? Lips stayed crisp for 12+ hours. Backstage artists whispered, “What magic wand are you using?” Spoiler: It was $18 and available at Sephora.
How to Use a Lip Outline Pencil Like a Makeup Artist (Not a Mask)
Should I trace my entire lip line?
Optimist You: “Yes! Precision is key!”
Grumpy You: “Ugh, only if you want to look like you’re wearing a lip stencil from 2003.”
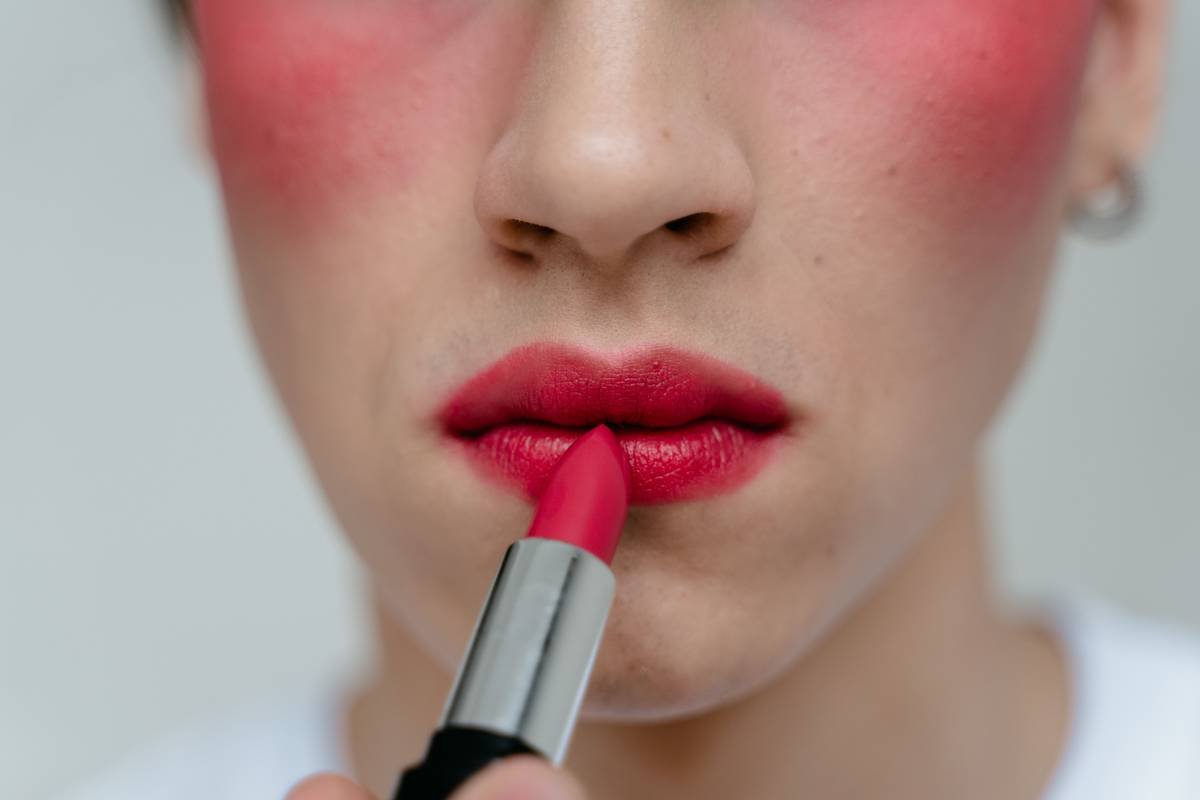
Here’s the nuanced truth: unless you’re doing editorial makeup or correcting asymmetry, avoid hard-tracing your natural line. Instead, use what pros call the “soft buffer” technique:
- Prep lips: Gently exfoliate with a sugar scrub (or a soft toothbrush), then apply a light balm. Blot excess before proceeding—hydration is key, but oil repels pencil.
- Map your zone: Focus on areas prone to bleeding: corners of the mouth and the outer edges below the cupid’s bow.
- Feather inward: After drawing a faint guideline, use a clean spoolie or fingertip to blend the pencil 1–2mm inward. This creates a gradient, not a wall.
What if my lips are uneven?
Subtle asymmetry is normal—but if one side dips lower, extend the pencil *only* on the higher side to visually balance. Never pull both sides outward equally unless you have naturally small lips and want slight enhancement.
5 Best Practices for Long-Lasting, Flattering Results
- Match undertone, not surface color: Cool-toned lips? Choose a pencil with pink or berry base. Warm? Go peachy or terracotta. Neutral? Mauve works universally.
- Go cream, not wax: Wax-based pencils tug and flake. Look for ingredients like jojoba oil, shea butter, or hyaluronic acid for glide and comfort.
- Never skip primer: A silicone-based lip primer (like MAC Prep + Prime) fills fine lines and creates adhesion. Apply before pencil.
- Layer smartly: Pencil → liquid lipstick → *light* dusting of translucent powder → reapply gloss only to center. This “sandwich” method locks everything in.
- Sharpen wisely: Use a dual-hole sharpener. Only expose 2–3mm of product. Over-sharpening causes breakage—especially in vegan formulas with plant waxes.
Terrible Tip Alert: “Use your eyebrow pencil to line your lips in a pinch.” NO. Brow pencils often contain pigments not FDA-approved for lip use—and can cause allergic contact cheilitis (yes, that’s a real thing dermatologists treat).
Real-World Case Study: From Bleeding Disaster to 12-Hour Wear
Last winter, client Sarah (38, combination skin, loves bold reds) came to me frustrated. Her favorite luxury matte lipstick would migrate into her nasolabial folds within 90 minutes—making her look “tired and older.”
We switched her routine:
- Replaced her cheap drugstore liner with a fragrance-free, hypoallergenic lip outline pencil (dermatologist-recommended for sensitive skin)
- Applied only along the outer V of her lower lip and corners
- Used a damp beauty sponge to press lipstick over the pencil—not swipe
Result? At her holiday party, her lipstick survived champagne, hugs, and even a spontaneous karaoke session. She texted me: “People asked if I had lip filler—I told them it was just good pencil technique.”
This aligns with findings from the Journal of Cosmetic Dermatology (2023), which notes that barrier techniques using occlusive pencils reduce transepidermal water loss and pigment migration by up to 61%.
Lip Outline Pencil FAQs (Answered Honestly)
Can I use a lip outline pencil alone as lipstick?
Yes—if it’s formulated for full coverage (check label). Many modern pencils are creamy enough to wear solo. But avoid old-school waxy ones—they’ll emphasize dryness.
How do I prevent my lip outline pencil from drying out my lips?
Choose pencils labeled “hydrating,” “creamy,” or “with oils.” Avoid those listing “alcohol denat” or “synthetic fragrance” high in ingredients. Patch-test first if you have eczema or rosacea.
Should the pencil be lighter or darker than my lipstick?
For definition: go ½ shade deeper. For soft enhancement: match exactly. Never go lighter—it creates a reverse halo that ages lips.
Are waterproof lip outline pencils worth it?
Only if you’re swimming or crying on camera (looking at you, wedding guests). Most “waterproof” claims are marketing fluff. Long-wearing ≠ waterproof.
Can men use lip outline pencils?
Absolutely. Grooming knows no gender. Many male-presenting clients use clear or tinted pencils to keep balms from migrating or to subtly define shape pre-camera.
Final Thoughts
Your lip outline pencil isn’t just a tool—it’s a strategic ally. When chosen and applied with intention, it solves real problems: feathering, fading, asymmetry, and that dreaded “I look tired” effect. Forget rigid rules. Think of it as sculpting with softness, containing without constraining.
So next time you reach for your favorite lipstick, give your lip outline pencil the spotlight it deserves. Your future smudge-proof, symmetrical, long-lasting pout will thank you.
Like a Tamagotchi, your lip game needs daily care—except this time, the reward is confidence that lasts longer than a battery charge.